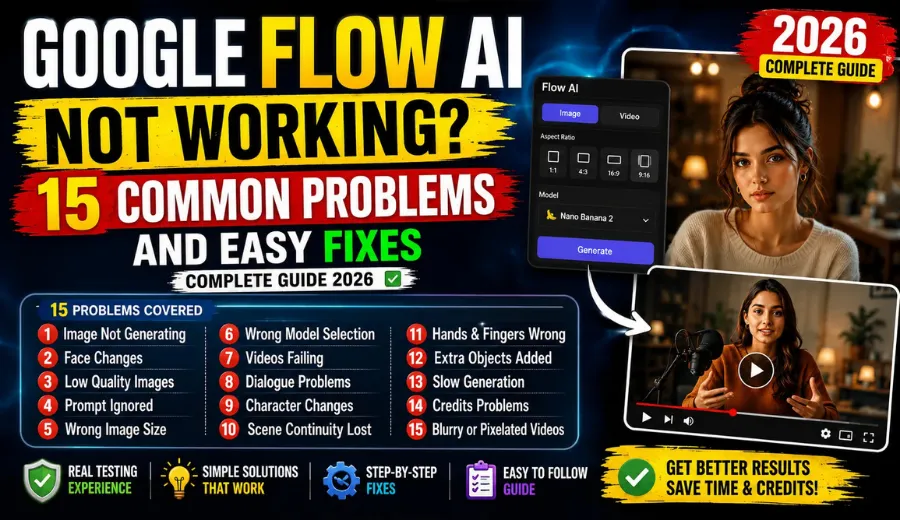
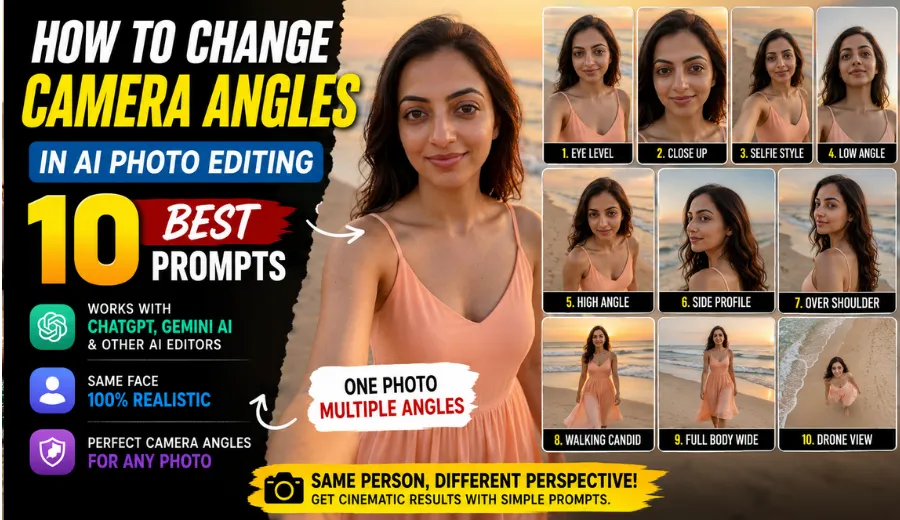
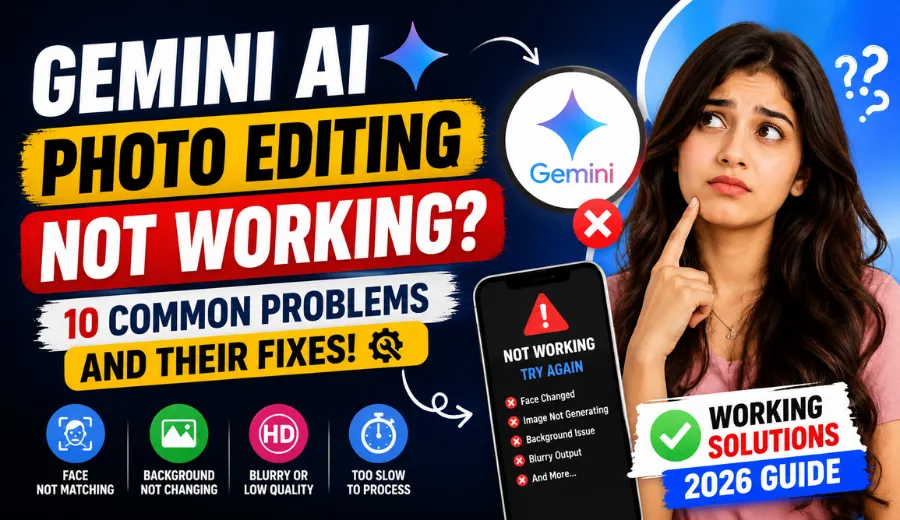
Gemini AI has become one of the most popular tools for AI photo editing in India. I use it regularly to test different photo editing ideas, and I know how exciting it feels when a prompt works perfectly. At the same time, I also know how frustrating it can be when Gemini changes your face, ignores your instructions, or does not generate an image at all. I have faced these problems myself while testing hundreds of prompts.
After trying different prompt styles and fixing the same issues again and again, I learned what actually works. In this guide, I am sharing the 10 most common Gemini AI photo editing problems and the simple fixes that helped me. By the end of this article, you will know how to write better prompts, avoid common mistakes, and get more realistic results from your own photos.
Why Does Gemini AI Change My Face After Photo Editing?
One of the biggest complaints I hear is the Gemini AI face change problem. I faced this many times when I first started testing photo editing prompts. Instead of editing my uploaded photo, Gemini created a new face that only looked slightly similar. This usually happens because the AI tries to recreate the person instead of preserving the original facial identity.
I noticed that this problem becomes even worse when the prompt focuses only on the outfit or background and says nothing about protecting the face. The AI then gets more freedom to redesign facial features.
The quality of the uploaded image also matters. Photos taken from the front with natural lighting usually give much better results than dark, blurry, or side profile images.
Solution:
When I edit photos, I always include identity protection instructions like these:
- Keep face 100 percent identical to uploaded photo.
- Do not alter facial structure.
- Preserve eye shape, nose shape, jawline, lips, eyebrows, and skin tone.
- Use the uploaded image as the only facial reference.
I also add negative instructions such as:
- face alteration
- identity mismatch
- different person
These simple lines have improved my results most of the time.
Why Does Gemini AI Make Skin Look Fake or Plastic?
Another issue I noticed during testing is that Gemini AI skin looks fake in some edits. The skin becomes extremely smooth and loses all natural texture. While the image may look clean at first, it often feels unrealistic, especially on Indian skin tones.
Many AI models automatically apply heavy beauty effects unless you clearly tell them not to. That is why some photos end up looking like digital artwork instead of real photography.
Solution:
I now describe skin in much more detail inside my prompts.
Use phrases like:
- preserve natural skin texture
- real pores
- authentic skin tone
- visible fine lines
- natural facial texture
I also include these negative instructions:
- no over smoothing
- no plastic look
- no beauty filter effect
One small trick that helped me was replacing the word “skin” with something more specific, such as warm wheatish Indian skin tone or natural brown Indian skin tone. Gemini understands these descriptions much better and produces more realistic results.
Why Is Gemini AI Not Generating Any Image?
Many people search for Gemini image not generating or Gemini photo edit not working because sometimes nothing happens after submitting a prompt. I have experienced this several times, especially when many people are using the service at the same time.
In my experience, there is usually no problem with the prompt itself. Most of the time the issue comes from server load, internet connection, restricted words inside the prompt, or temporary app problems.
Instead of rewriting the entire prompt immediately, I first check a few simple things.
Solution:
If Gemini does not generate an image, I usually try these steps:
- Wait a few minutes and try again.
- Remove unnecessary words from the prompt.
- Check your internet connection.
- Switch from mobile data to WiFi.
- Clear the Gemini app cache.
- Restart the app.
- Try the browser version instead of the mobile app.
- Upload the image again if needed.
I have also noticed that shorter and clearer prompts often generate images faster than very long prompts filled with unnecessary details. Sometimes removing just one confusing sentence is enough to solve the problem.
Why Doesn’t Gemini AI Change the Background Properly?
One issue I kept seeing while testing prompts was Gemini AI background not changing the way I wanted. Sometimes it replaced only a small part of the background, while other times it mixed the old and new backgrounds together. The result looked unfinished and unrealistic.
I learned that this usually happens when the prompt is too general. Writing something like “change the background to a garden” gives Gemini too much freedom. It may keep parts of the original wall, furniture, or other objects because the instruction is not specific enough.
Solution:
When I want a complete background replacement, I always write clear instructions like these:
- Completely remove the original background.
- Replace the background with a realistic lavender field.
- Do not keep any part of the original background visible.
- Blend the subject naturally into the new environment.
I also keep the subject and background instructions separate. First, I describe the person and outfit. After that, I explain the background in detail. This simple change has given me much cleaner edits.
How to Change Image Size and Aspect Ratio in Gemini AI?
Many people ask how to change aspect ratio in Gemini AI because they want photos for Instagram, YouTube, or WhatsApp. I also had this problem when I started creating content. Sometimes Gemini generated a beautiful image, but the size was not suitable for posting.
The easiest solution is to mention the aspect ratio directly in your prompt before describing the scene. This tells Gemini what layout you want from the beginning.
Solution:
Use aspect ratios like these in your prompt:
- 9:16 for Instagram Stories and Reels
- 4:5 for Instagram posts
- 1:1 for square social media posts
- 16:9 for YouTube thumbnails and banners
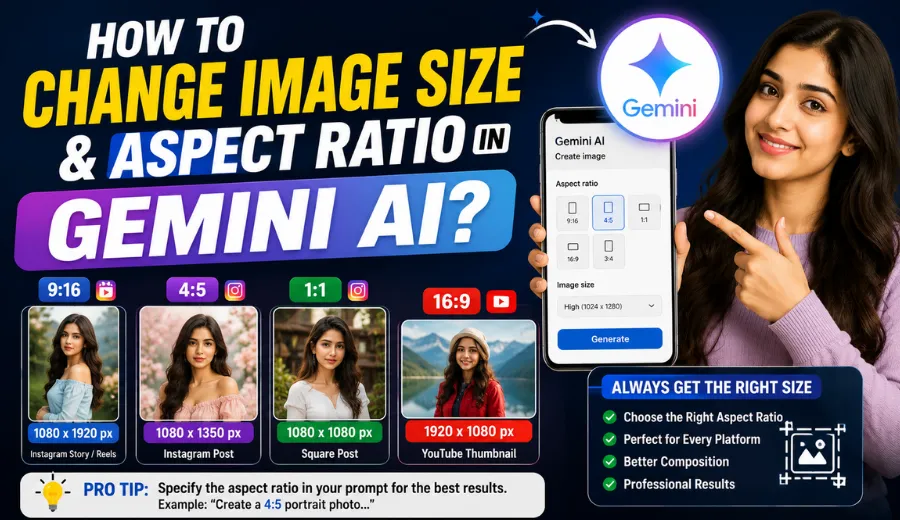
For example, I often begin my prompts with:
- Create a vertical 4:5 ultra realistic portrait.
- Use a 9:16 full body composition.
If Gemini still gives you a different size, don’t worry. I usually crop or resize the final image using a free editor like Canva. This keeps the composition clean without reducing the quality too much.
Why Is My Gemini AI Photo Blurry or Low Quality?
Another common issue I noticed is the Gemini photo blurry fix problem. Sometimes the generated image looks soft, pixelated, or lacks small details, even when the prompt itself is good.
In my experience, this often happens because the original uploaded photo is low quality. AI can improve many things, but it cannot create perfect details from a blurry image.
Solution:
I usually include quality instructions like these:
- Ultra realistic
- High detail
- Sharp focus
- 8K quality
- Professional photography
- Crisp facial details
I also make sure to upload the highest quality version of my original photo. A clear image with good lighting almost always produces a much better final result than a compressed screenshot or blurry selfie.
Why Does Gemini Add Random Text, Watermarks, or Unwanted Objects?
While testing different edits, I sometimes noticed random words, strange symbols, extra flowers, or objects appearing in the final image. None of these were part of my prompt.
This usually happens when the prompt is too broad or contains instructions that Gemini interprets in unexpected ways.
Solution:
I solve this by adding clear negative instructions such as:
- No extra text
- No watermark
- No unwanted objects
- No random accessories
- Clean background
I also avoid writing long or confusing prompts. Clear instructions help Gemini understand exactly what should appear in the final image. In most of my tests, shorter and more focused prompts produced cleaner and more realistic edits.
Why Does Gemini AI Edit Only One Face Correctly in Group Photos?
Editing a group photo is much harder than editing a single portrait. I noticed this while testing family and friends’ photos. Gemini sometimes keeps one face accurate but changes another person’s face, expression, or skin tone. In some cases, it even swaps facial features between people.
This happens because the AI has to identify multiple faces, understand their positions, and apply the requested changes without mixing identities. If the prompt is too simple, Gemini may not know which person you are referring to.
Solution:
When I edit group photos, I describe each person separately instead of writing one general instruction.
For example, I use prompts like:
- The person on the left wearing a blue shirt should remain unchanged.
- The woman on the right with curly hair should wear a red saree.
- Keep every person’s original face, skin tone, and facial features identical to the uploaded image.
- Do not swap faces or mix facial identities.
I have found that group photo prompts need much more detail than single-person prompts. Spending a few extra lines describing each person usually gives much cleaner and more accurate results.
Why Is Gemini AI So Slow Sometimes?
Sometimes Gemini takes much longer than usual to finish an edit. I have mostly noticed this during the evening when many people seem to be using the service at the same time. Large image files and very long prompts can also increase processing time.
Solution:
If Gemini feels slow, I usually try these simple fixes:
- Edit photos during early morning or late night.
- Keep the prompt clear and avoid unnecessary details.
- Compress very large image files before uploading.
- Close other apps that may be using your internet connection.
- Refresh the page and try again after a few minutes.
Most of the time, one of these steps solves the problem without changing the prompt itself.
How Do I Save My Gemini AI Photo Without Losing Quality?
After creating a good edit, the last thing you want is to lose quality while saving it. I have seen many people take a screenshot because it is quick, but screenshots usually reduce image quality and make small details look soft.
Solution:
To keep the best quality:
- Always use the original Download or Save option whenever it is available.
- If you cannot find the download button, check the Share option because some versions let you save the original image from there.
- Avoid taking screenshots unless there is no other choice.
- Save the original file before sharing it on social media or editing it further.
These small habits help preserve the sharpness and details that Gemini generated.
Last Words
Most Gemini photo edit not working issues are easier to fix than they first appear. After testing hundreds of prompts, I found that unclear instructions are usually the biggest reason behind face changes, unrealistic skin, background problems, blurry images, and other editing mistakes.
The biggest improvement came when I started using clear identity lock phrases, detailed descriptions, and strong negative prompts in every edit. Those simple changes solved most of the problems I was facing and helped me get much more natural results.
If you want to save time, you can also explore the ready to use prompt collection on this website. I personally test every prompt before publishing it, and I only share the ones that give realistic faces, natural lighting, and cleaner photo editing results in my own experience.